There is a quiet, heavy kind of tired that settles into the bones after a long day of tending to the home and hearth. Whether you are a sleep-deprived mother, a weary gardener, or simply someone seeking a moment of stillness in a chaotic world, rest is a necessary ritual.
This simple DIY lavender eye pillow creates a small vessel of comfort. Filled with the grounding weight of rice and the calming scent of lavender, this weighted eye mask is a versatile addition to your natural apothecary.
It is a quick project, perfect for using up cherished scraps of linen or cotton, stitching them together in a patchwork style to create something beautiful and restorative.
Why Use a Weighted Eye Pillow?
Beyond the lovely scent, these pillows offer practical relief through temperature therapy:
- Cold Therapy: Keep it in the freezer to soothe tired, puffy eyes or cool down on a hot day.
- Heat Therapy: Warm it gently in the microwave (about 30 seconds) to melt away tension headaches or sinus pressure.
Materials & Tools Needed
This project is designed to be scrap-friendly. We are using a patchwork front to utilize smaller pieces of treasured fabric.
The Fabric
- Front: 3 pieces of fabric, each 4 × 5 inches (choose complementary cottagecore prints)
- Back: 1 piece of fabric, 12 × 5 inches
The Filling
- 1 ½ cups uncooked rice (or flax seeds for a softer feel)
- 15 drops lavender essential oil
- A mixing bowl
The Tools
- Scissors
- Pins
- Sewing machine and thread
- Iron
Note: A standard ¼-inch seam allowance is used throughout this project unless otherwise noted.
Instructions: How to Sew Your Eye Pillow
Step 1: Create the Patchwork Front
Select your three small fabric pieces (4 x 5 inches). Determine the arrangement you like best. Place two pieces together, right sides facing, and sew them together along one of the 4-inch sides.
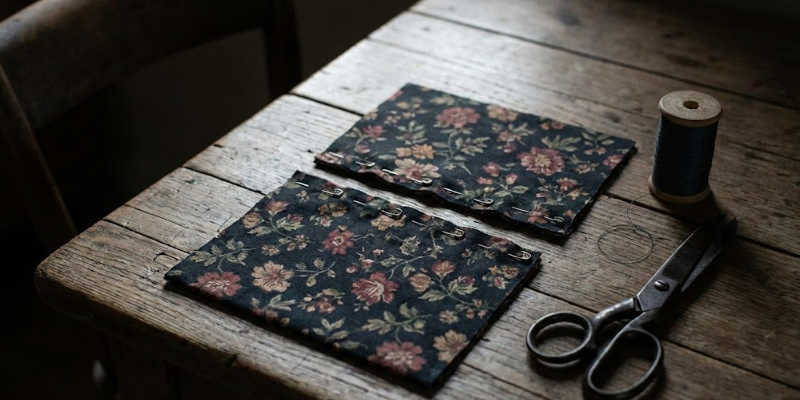
Step 2: Complete the Front Strip
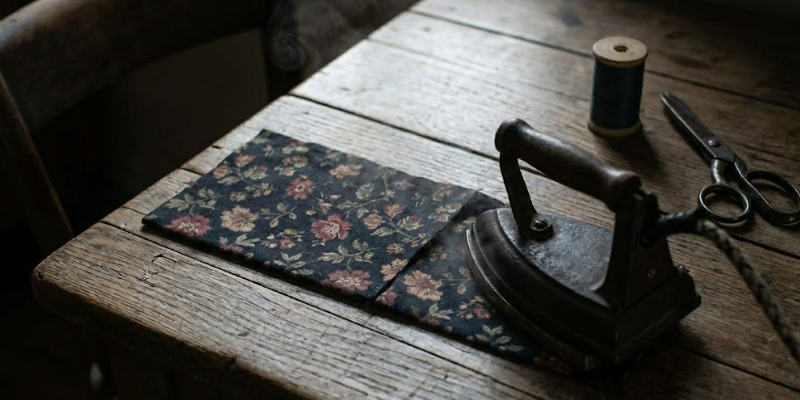
Pin the third fabric piece to your joined pieces, right sides facing, and sew along the remaining open 4-inch side of the middle piece. You should now have a long strip. Press all seams open with your iron so the fabric lies flat.
Step 3: Join Front and Back Layers
Place your newly created patchwork front piece on top of the long backing piece (12 x 5 inches). Align them so the edges match and the right sides are facing each other. Pin the two layers together around the perimeter to hold them steady.
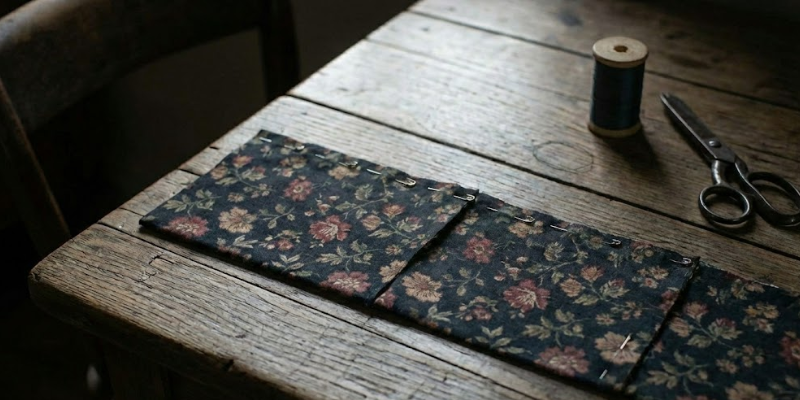
Step 4: Sew and Turn
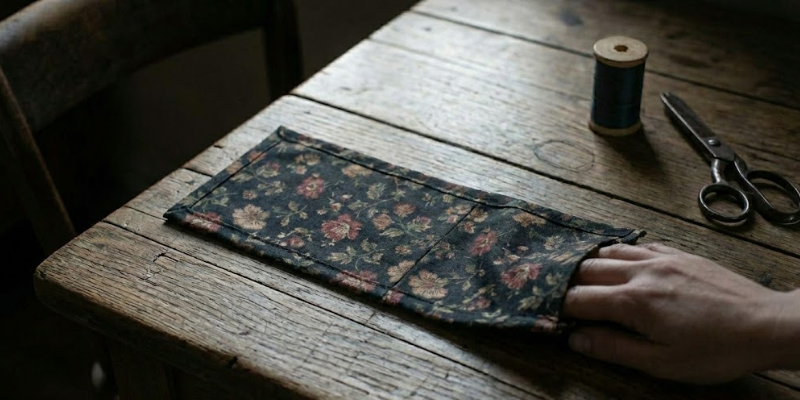
Sew around the long sides of the rectangle. Important: Leave the two shorter 5-inch ends completely open for now. Once sewn, turn the entire piece right-side out and press it flat with your iron to create crisp edges.
Step 5: Close One End
On one of the open short ends, tuck the raw seam edges inside about 1/4 inch. Press with the iron to create a crisp edge. Topstitch down the entire length of that short side to close it completely.
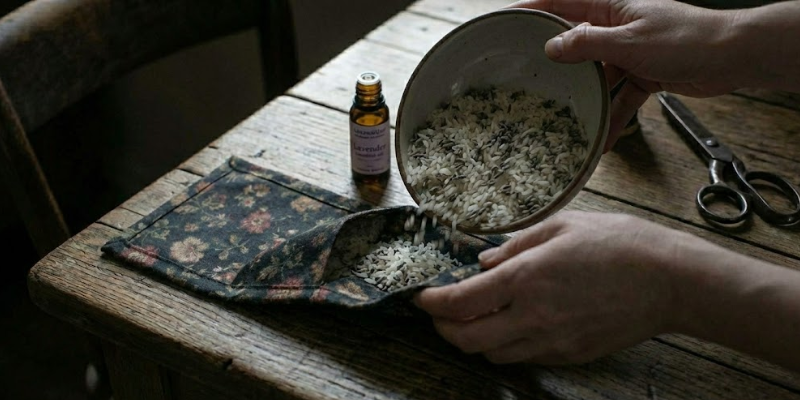
Step 6 & 7: Mix and Fill
In a bowl, pour in your uncooked rice and add the 15 drops of lavender essential oil. Stir well to ensure the scent is evenly distributed throughout the grain.
Using a funnel or a steady hand, carefully pour the scented rice mixture into the remaining opening of the pillow.
Step 8: Final Seal
Once filled, push the raw seam edges of the remaining opening inward and press with your iron. Push the rice firmly toward the already-closed side of the pillow to keep it away from your sewing machine needle. Topstitch down the length of this final side to seal your pillow.
Your Finished Herbal Eye Pillow
Your rustic eye pillow is complete. It is ready to rest on your bedside table, awaiting those moments when you need to decompress.

How to Use
- For Cold Therapy: Store the pillow in a sealed plastic bag in the freezer or refrigerator. Place over eyes to reduce inflammation and cool down.
- For Heat Therapy: Microwave for 30 seconds. Always test the temperature on your wrist before placing it on your face to ensure it isn’t too hot. Place on forehead to aid in headache relief.
If you’ve found value in these tutorials and wish to help keep this little corner of the internet quiet and ad-free, please consider supporting Willowgold Farms. Your support keeps the hearth warm and allows me to continue sharing these rustic traditions without the distraction of ads.

Lavender Eye Pillow
Ingredients
Equipment
Method
- Select your three small fabric pieces (4 x 5 inches). Determine the arrangement you like best. Place two pieces together, right sides facing, and sew them together along one of the 4-inch sides.
- Pin the third fabric piece to your joined pieces, right sides facing, and sew along the remaining open 4-inch side of the middle piece. You should now have a long strip. Press all seams open with your iron so the fabric lies flat.
- Place your newly created patchwork front piece on top of the long backing piece (12 x 5 inches). align them so the edges match and the right sides are facing each other. Pin the two layers together to hold them steady.
- Sew around the long sides, but be careful with the short sides. You need to leave a 2-inch opening on both of the shorter ends. Once sewn, turn the entire piece right-side out and press it flat with your iron.
- On one of the open short ends, tuck the raw seam edges inside. Press with the iron to create a crisp edge. Topstitch down the entire length of that short side to close it completely.
- In a bowl, pour in your uncooked rice and add the 15 drops of lavender essential oil. Stir well to ensure the scent is evenly distributed throughout the grain.
- Using a funnel or a steady hand, pour the scented rice mixture into the remaining opening of the pillow.
- Once filled, push the raw seam edges of the opening inward and press with your iron (being careful of the bulk). Push the rice firmly toward the already-closed side of the pillow to keep it away from your needle. Sew down the length of this final side to seal your pillow.
